Valentines Snacks Mini Puff Pastries
Highlighted under: Rustic Sweet Bakes
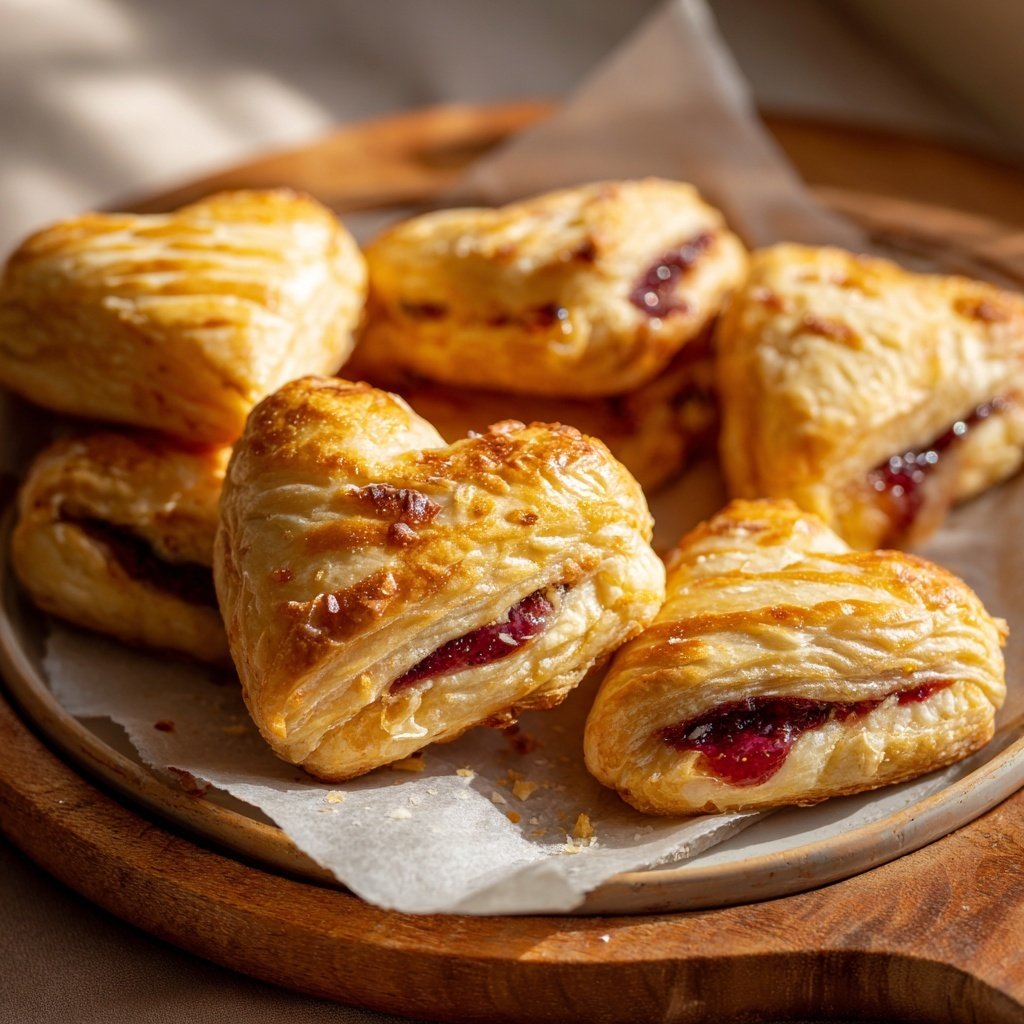
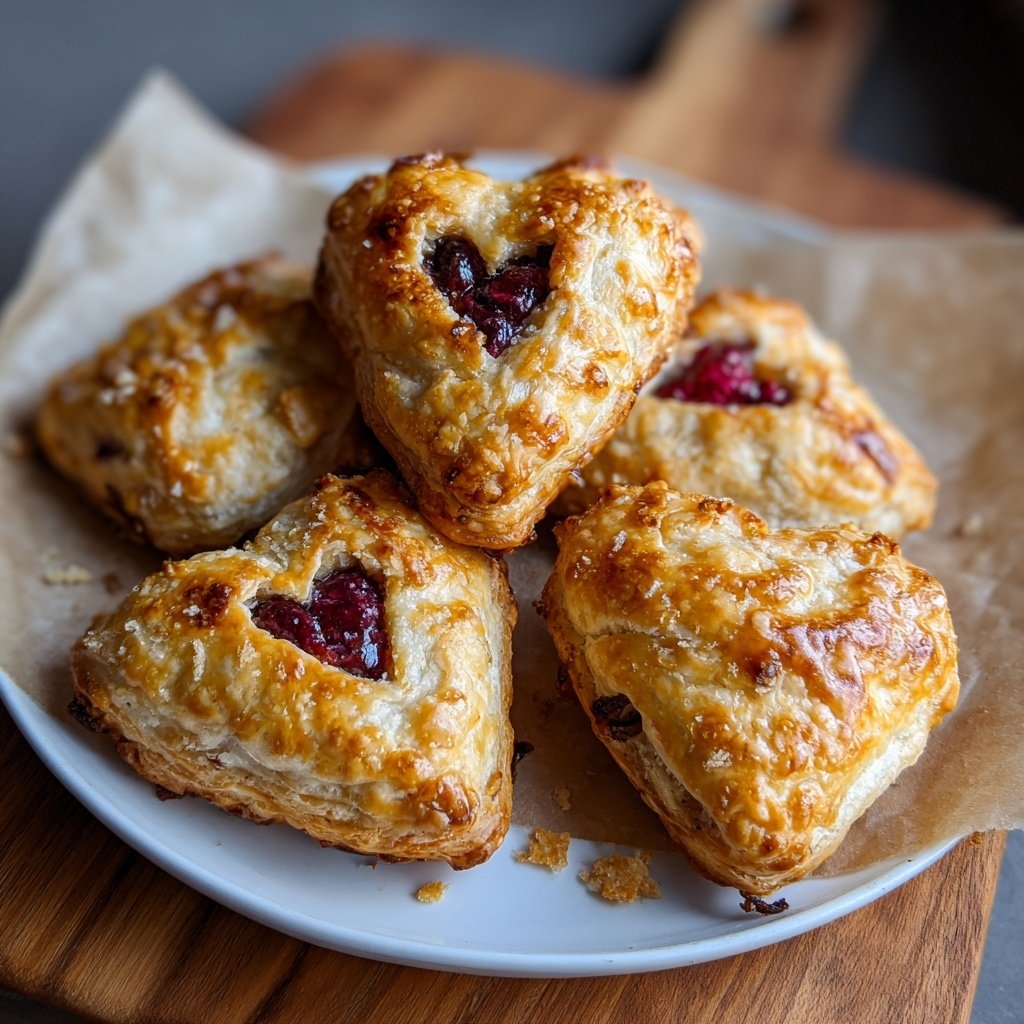
I absolutely love making these mini puff pastries for Valentine’s Day! Each little bite is a delightful treat that combines flaky pastry with delicious fillings. Whether it’s savory cheese or sweet fruit, these pastries come together quickly and can be customized to suit any palate. They’re perfect for entertaining or for a cozy night in. Plus, the aroma wafting through the kitchen as they bake is utterly irresistible! If you’ve got a few minutes, I highly recommend trying this recipe—your loved ones will certainly appreciate the effort.
When I first attempted making mini puff pastries, I was amazed at how easy it was to impress my guests with such a sophisticated snack. I started with store-bought puff pastry to save time, which turned out to be a game changer. It offers the perfect amount of flakiness without the hassle of making dough from scratch.
I love experimenting with different fillings, such as creamy goat cheese paired with fresh herbs or sweet strawberries mixed with chocolate. It’s a fun way to customize the flavors based on what I have on hand, and every batch feels special!
Why You Will Love These Mini Puff Pastries
- Flaky and buttery pastry that melts in your mouth
- Versatile fillings make it perfect for both sweet and savory fans
- Quick to prepare, making it ideal for last-minute gatherings
Perfecting the Pastry
The quality of the puff pastry used in this recipe is crucial for achieving that delightful flaky texture. Store-bought puff pastry is a fantastic shortcut, but make sure it’s well-thawed before rolling out. If you're feeling adventurous, you can also make your own from scratch. Homemade puff pastry allows for better control over the butter-to-flour ratio, leading to even flakier layers. Just remember to keep everything cold during the process to prevent the butter from melting before baking.
When rolling out your pastry, aim for an even thickness of about 1/8 inch. This will ensure that all your pastries bake uniformly. If your dough is too thick, the insides may remain undercooked, while a thin dough can burn or become overly crispy. Keep an eye on it as you roll and use a sharp knife or pastry cutter for precise squares to help maintain clean edges.
Filling Variations
The beauty of these mini puff pastries lies in their versatility. You can easily mix and match fillings to suit any taste preference. For savory options, consider combining cheeses like goat cheese with herbs or mixing spinach with ricotta. On the sweeter side, jam varieties such as raspberry or a chunky apple pie filling work beautifully. Just be cautious not to overfill—the ideal amount is about a teaspoon for a 3-inch square to prevent spillage during baking.
If you’re looking for healthier substitutions, you can swap out traditional butter for coconut oil or use a non-dairy pastry alternative. For a lower-carb option, puff pastry can also be made using almond flour or cauliflower as a base, though the texture will differ from classic puff pastry. These substitutions may require adjustments in baking time or temperature, so keep a close eye on your pastries.
Storage and Serving Suggestions
These mini puff pastries are best served fresh out of the oven, but if you're making them ahead, you can store baked pastries in an airtight container for up to two days. For longer storage, freeze the unbaked pastries on a baking sheet until firm, then transfer to a freezer bag. When ready to enjoy, bake from frozen; simply add a few extra minutes to the cooking time.
Serving these pastries warm, alongside a light salad or a selection of dips, can elevate your snack experience. I often enjoy mine with a simple garlic herb dip or a tangy balsamic reduction to complement the fillings. You can also sprinkle some fresh herbs on top just before serving to add a lovely touch of color and flavor.
Ingredients
Gather these simple ingredients for a delightful treat:
Ingredients for Mini Puff Pastries
- 1 sheet of puff pastry (thawed)
- 1 egg (for egg wash)
- 1 cup of filling options (cheese, jam, chocolate, etc.)
- Flour (for dusting)
- Salt (a pinch, if using savory fillings)
Feel free to get creative with your fillings!
Instructions
Follow these steps to create your mini puff pastries:
Preheat and Prepare
Preheat your oven to 400°F (200°C). Dust your work surface with flour and roll out the puff pastry sheet to about 1/8 inch thickness.
Cut and Fill
Cut the pastry into squares (about 3 inches each). Place a small spoonful of your chosen filling in the center of each square.
Seal and Brush
Fold the pastry over the filling to create triangles or rectangles. Press the edges to seal them well. Beat the egg and brush it on top of each pastry for a golden finish.
Bake
Place the pastries on a lined baking sheet and bake for 12-15 minutes or until golden brown. Keep an eye on them towards the end!
Cool and Serve
Let the pastries cool slightly before serving. These are best enjoyed warm!
Serve with a side of dipping sauce or simply on their own!
Pro Tips
- Experiment with different fillings! A mix of sweet and savory can surprise your taste buds. Don’t forget to sprinkle some herbs or spices in your fillings for extra flavor.
Troubleshooting Tips
If your pastries don’t rise as much as you'd like, check the freshness of your puff pastry; old dough can lose its ability to puff effectively. Also, make sure your oven is preheated adequately. An oven thermometer can help ensure that you're baking at the right temperature, as inaccurate readings can lead to undesired textures.
Should you encounter a filling that seeps out during baking, remember not to overstuff. Sealing edges properly is also key; moisten the edges with a bit of water if necessary to ensure they stick well. A well-sealed pastry will create a delicious pocket, preserving the flavors inside.
Scaling the Recipe
This recipe is easily scalable for larger gatherings. Simply multiply the ingredients according to the number of guests. Remember that with more pastries in the oven, you might need to bake in batches, keeping an eye to ensure each batch reaches that perfect golden brown. You’ll want to test a few from each batch to guarantee consistent texture and flavor.
If you’re planning to serve these at a party, consider a variety platter that includes both sweet and savory options. Mixing flavors not only enhances presentation but also caters to diverse palates. You can even create seasonal variations, using fillings that reflect the current bounty, like pumpkin for fall or fresh berries for spring.
Questions About Recipes
→ Can I use homemade puff pastry?
Yes, homemade puff pastry will yield even flakier results, but using store-bought saves time.
→ What fillings do you recommend?
For savory, try cheese and spinach, or for sweet, chocolate and strawberries work wonderfully!
→ How do I store leftovers?
Store in an airtight container in the fridge for up to 2 days. Reheat in the oven for best results.
→ Can I freeze mini puff pastries?
Yes, you can freeze unbaked pastries for up to a month. Just bake them straight from the freezer; you might need to add a few minutes to the baking time.
Valentines Snacks Mini Puff Pastries
Created by: Tessa Wright
Recipe Type: Rustic Sweet Bakes
Skill Level: Intermediate
Final Quantity: 24 pieces
What You'll Need
Ingredients for Mini Puff Pastries
- 1 sheet of puff pastry (thawed)
- 1 egg (for egg wash)
- 1 cup of filling options (cheese, jam, chocolate, etc.)
- Flour (for dusting)
- Salt (a pinch, if using savory fillings)
How-To Steps
Preheat your oven to 400°F (200°C). Dust your work surface with flour and roll out the puff pastry sheet to about 1/8 inch thickness.
Cut the pastry into squares (about 3 inches each). Place a small spoonful of your chosen filling in the center of each square.
Fold the pastry over the filling to create triangles or rectangles. Press the edges to seal them well. Beat the egg and brush it on top of each pastry for a golden finish.
Place the pastries on a lined baking sheet and bake for 12-15 minutes or until golden brown. Keep an eye on them towards the end!
Let the pastries cool slightly before serving. These are best enjoyed warm!
Extra Tips
- Experiment with different fillings! A mix of sweet and savory can surprise your taste buds. Don’t forget to sprinkle some herbs or spices in your fillings for extra flavor.
Nutritional Breakdown (Per Serving)
- Calories: 200 kcal
- Total Fat: 12g
- Saturated Fat: 5g
- Cholesterol: 45mg
- Sodium: 320mg
- Total Carbohydrates: 20g
- Dietary Fiber: 1g
- Sugars: 4g
- Protein: 4g