Classic Red Candy Apples
Highlighted under: Rustic Sweet Bakes
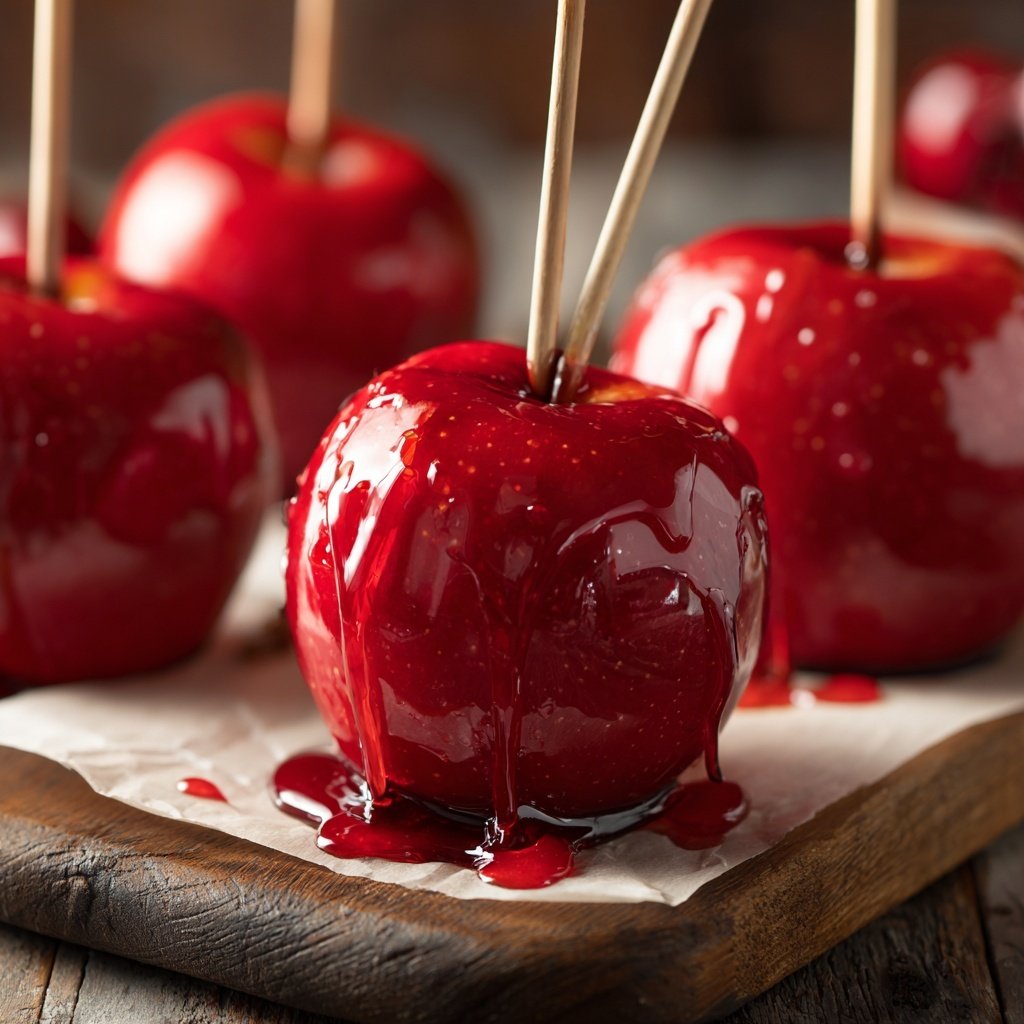
I love making Classic Red Candy Apples, especially during the fall season. There's something magical about the bright red coating, especially when they catch the light. The crunch of the apple paired with the sweet, glossy candy shell creates a delightful contrast that brings a smile to everyone's face. It’s an engaging treat that we enjoy preparing together as a family, and it makes for a stunning centerpiece at gatherings or a fun treat for Halloween. Let's take a step back in time with this nostalgic recipe!
When I first attempted making candy apples, I was amazed at how simple yet rewarding the process was. The key is to ensure the apples are thoroughly washed to remove any wax, allowing the candy to adhere properly. I tried several methods, but using a standard candy thermometer proved to be the most effective for achieving the perfect temperature for the candy coat.
My family looks forward to this treat every autumn, and I've learned that adding a splash of cinnamon to the sugar mixture really elevates the flavor. It's a small twist that makes a big difference, and I always love seeing their delighted faces when they bite into these crunchy, sweet apples!
Why You'll Love These Candy Apples
- Vibrant, eye-catching color perfect for any occasion
- Customizable with flavors and toppings for a personal touch
- Nostalgic treat that appeals to both kids and adults
Choosing the Right Apples
When selecting apples for your candy apples, it's essential to choose firm, tart varieties like Granny Smith or Honeycrisp. These apples not only contrast beautifully with the sweet candy coating but also maintain their crisp texture, ensuring a delightful crunch. It's best to avoid softer apples, as they can become mushy and lose their structure after being dipped in hot candy. A quick tip: choose apples that are similar in size for uniformity in cooking and presentation.
Another factor to consider is the wash of the apples. They often come coated with wax to preserve freshness. I recommend thoroughly washing them in warm water, possibly with a bit of baking soda, to remove this coating. This step not only enhances the candy's adherence but also ensures a cleaner, more enjoyable treat. Don't forget to dry them completely—excess moisture can cause the candy to separate or not set properly.
Perfecting the Candy Coating
The candy mixture reaches the hard crack stage at 300°F, which is crucial for achieving a firm, glossy finish. Use a candy thermometer for accurate results, as this temperature guarantees that the coating will harden quickly after dipping, creating a satisfying, crisp shell. If you're uncertain about your thermometer's accuracy, you can test using the cold water method: drop a bit of the mixture into cold water, and if it forms hard, brittle threads, it's ready for dipping.
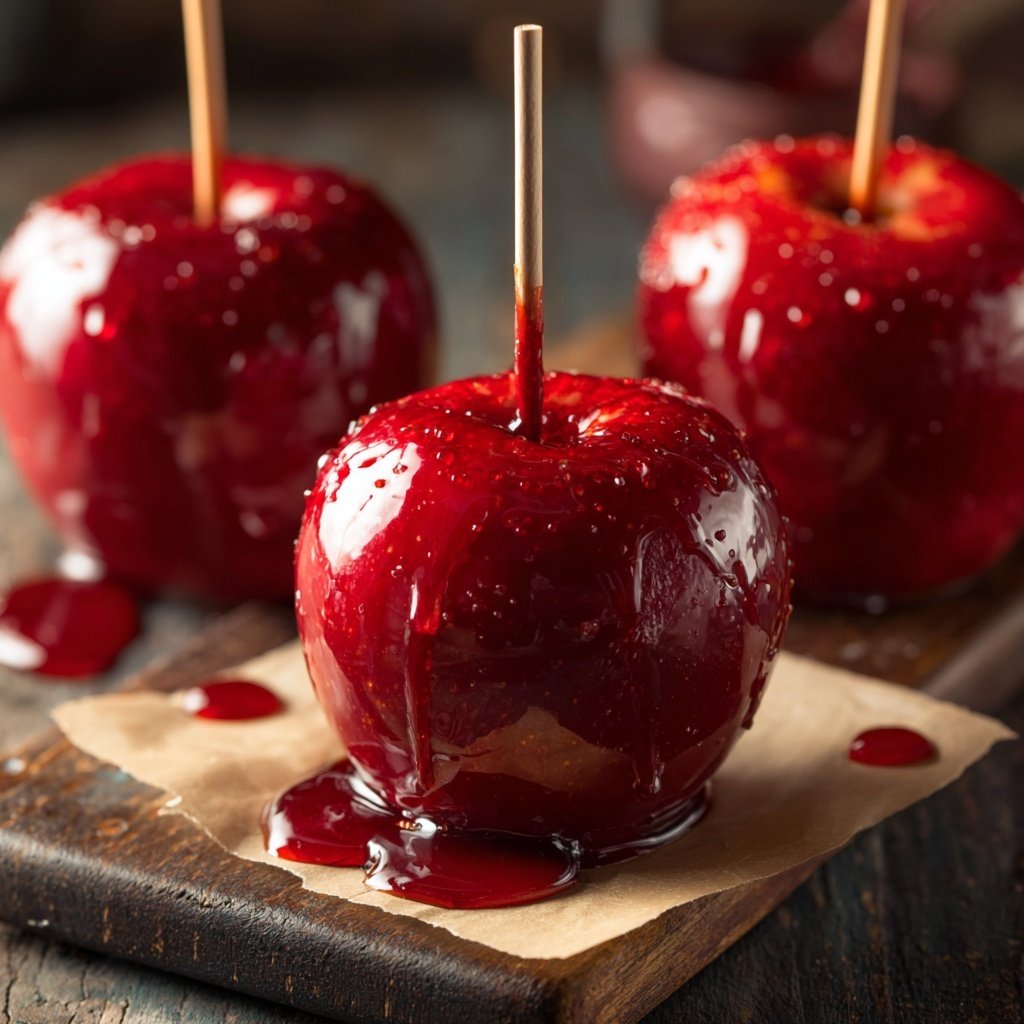
Ensure your cooking surface remains clean and free from water to avoid crystallization. If the sugar begins to crystallize during cooking, you can fix it by adding a small amount of water and swirling the pan gently, rather than stirring. This delicate phase can make or break your candy apple experience, so keep a close eye on it. The final mixture should have a vibrant red hue and a smooth, glossy appearance—if it's too thick, it can lead to uneven coating.
Creative Variations and Serving Ideas
While Classic Red Candy Apples are delightful on their own, you can easily elevate them with additional flavors and toppings. For a richer candy experience, consider adding a teaspoon of vanilla extract to the candy mixture right before dipping. Toppings can include crushed nuts, sprinkles, or even a drizzle of melted chocolate for added depth and texture. Just sprinkle the toppings on while the candy is still warm, allowing them to adhere properly.
Storing candy apples can be tricky as they tend to lose their crunchy texture over time. I recommend enjoying them fresh, but if you must store them, keep them in a cool, dry place, preferably unwrapped to avoid moisture. They are best consumed within 24 hours for maximum crispness. If you're planning a harvest party or Halloween gathering, consider making a variety of flavors ahead of time to surprise your guests—creativity in your candy apple station can turn this treat into a showstopper!
Ingredients
For the Candy Coating
- 2 cups granulated sugar
- 1 cup water
- 1 cup corn syrup
- 1 teaspoon cinnamon
- Red food coloring
- 4 medium-sized apples
- Lollipop sticks or wooden skewers
Instructions
Prepare the Apples
Begin by washing the apples thoroughly to remove any wax, then dry them completely. Insert a lollipop stick or wooden skewer into the top of each apple, ensuring it's secure.
Make the Candy Mixture
In a saucepan over medium heat, combine the sugar, water, corn syrup, and cinnamon. Stir until the sugar dissolves, then let it boil without stirring until it reaches 300°F (hard crack stage).
Add Color and Dip the Apples
Once the candy mixture is ready, remove it from heat and add a few drops of red food coloring, stirring gently. Quickly dip each apple into the candy coating, turning to ensure an even coat. Allow excess candy to drip off.
Set the Apples
Place each coated apple on a sheet of parchment paper or a greased surface to cool and harden completely. This usually takes about 15 minutes.
Pro Tips
- For added flavor, you can experiment with different extracts like vanilla or almond. These can transform the taste and add a unique twist to your candy apples!
Troubleshooting Common Issues
If your candy coating isn't setting properly, it could be due to not reaching the right temperature or the apples being too moist. Always check your thermometer's calibration before starting. Remember that dipping the apples requires the candy to be right at those critical 300°F—too low, and it won't harden; too high, and it may burn. You might need to adjust your heat levels and cooking time slightly based on your stovetop's performance.
Another common issue is the candy coating being too thick. This can create air bubbles and an unappealing texture. If you find this happening, you can gently reheat the mixture while stirring to thin it out slightly. Just be careful not to overheat, as it can lead back to the risk of burning. A well-dipped apple should have an even, glossy layer without any underlying cracks or bubbles.
Scaling Up Your Recipe
If you're planning to make a large batch of candy apples for an event or party, it's simple to scale this recipe up. The key is to maintain the same ratios between sugar, water, and corn syrup. For example, doubling the recipe means you will need 4 cups of sugar, 2 cups of water, and 2 cups of corn syrup. However, take heed that larger quantities may require a bigger pot to ensure even heating and to prevent overflow.
When scaling, be cautious about your dipping process—work in batches to avoid the candy cooling too quickly. Having an extra pair of hands to assist with dipping and setting can be invaluable. Additionally, prepare extra parchment paper or wax paper for setting the apples, as working with larger quantities takes up more space. This way, you'll efficiently handle every aspect from preparation to presentation!
Questions About Recipes
→ Can I use other types of apples?
Yes, you can use any apple variety you prefer, but tart apples like Granny Smith balance the sweetness of the candy well.
→ How do I store leftover candy apples?
Store them in a cool, dry place on a tray lined with parchment paper. Avoid refrigerating as it can cause the candy to sweat.
→ What can I use instead of corn syrup?
You may substitute corn syrup with maple syrup or honey, though it may slightly alter the final texture.
→ Can I add toppings to the candy apples?
Absolutely! Before the candy sets, sprinkle toppings like chopped nuts, crushed cookies, or sprinkles for extra flavor and texture.
Classic Red Candy Apples
Created by: Tessa Wright
Recipe Type: Rustic Sweet Bakes
Skill Level: Intermediate
Final Quantity: 4
What You'll Need
For the Candy Coating
- 2 cups granulated sugar
- 1 cup water
- 1 cup corn syrup
- 1 teaspoon cinnamon
- Red food coloring
- 4 medium-sized apples
- Lollipop sticks or wooden skewers
How-To Steps
Begin by washing the apples thoroughly to remove any wax, then dry them completely. Insert a lollipop stick or wooden skewer into the top of each apple, ensuring it's secure.
In a saucepan over medium heat, combine the sugar, water, corn syrup, and cinnamon. Stir until the sugar dissolves, then let it boil without stirring until it reaches 300°F (hard crack stage).
Once the candy mixture is ready, remove it from heat and add a few drops of red food coloring, stirring gently. Quickly dip each apple into the candy coating, turning to ensure an even coat. Allow excess candy to drip off.
Place each coated apple on a sheet of parchment paper or a greased surface to cool and harden completely. This usually takes about 15 minutes.
Extra Tips
- For added flavor, you can experiment with different extracts like vanilla or almond. These can transform the taste and add a unique twist to your candy apples!
Nutritional Breakdown (Per Serving)
- Calories: 280 kcal
- Total Fat: 0g
- Saturated Fat: 0g
- Cholesterol: 0mg
- Sodium: 5mg
- Total Carbohydrates: 70g
- Dietary Fiber: 4g
- Sugars: 65g
- Protein: 0g